Saturday 23 July 2011

Lemon Curd


I seem to be a little bit obsessed with the flavour of lemon and meringue at the moment. First a lemon meringue fool, and now lemon curd for lemon meringue ice cream. What can I say, it’s a really delicious flavour, and makes me feel a little bit more summery when the weather is so miserable outside. This humble jar of lemon curd marks my first steps into the wonderful world of jarred goods. Just wait till winter when I plan to start a mini production line of chutneys and jams to give as Christmas presents.

http://www.bills-website.co.uk/
This is the first recipe I have tried from my latest book investment, ‘Cook, Eat, Smile’, by Bill Collison. I hope that anyone who has ever visited Brighton has had the pleasure of eating at Bills Produce Store. In a town with plenty of great restaurants and café’s Bill’s excels itself at providing the most spectacular and, most importantly, delicious breakfast, brunches, lunches, snacks and suppers, including the best brownie I’ve ever bought. High praise indeed. As well as that, the large, almost warehouse like, dining space, is covered in floor to ceiling shelves filled with lots of lovely jams and crisps and beers and other products labeled with fabulous vintage style labels which make the perfect gifts.

The recipe book follows a similar theme, and really captures the essence of what Bills Produce Store is all about. Separated into seasons, and championing the best in British seasonal produce, the book showcases some of the favourites that are found in the restaurant as well as many other original dishes.


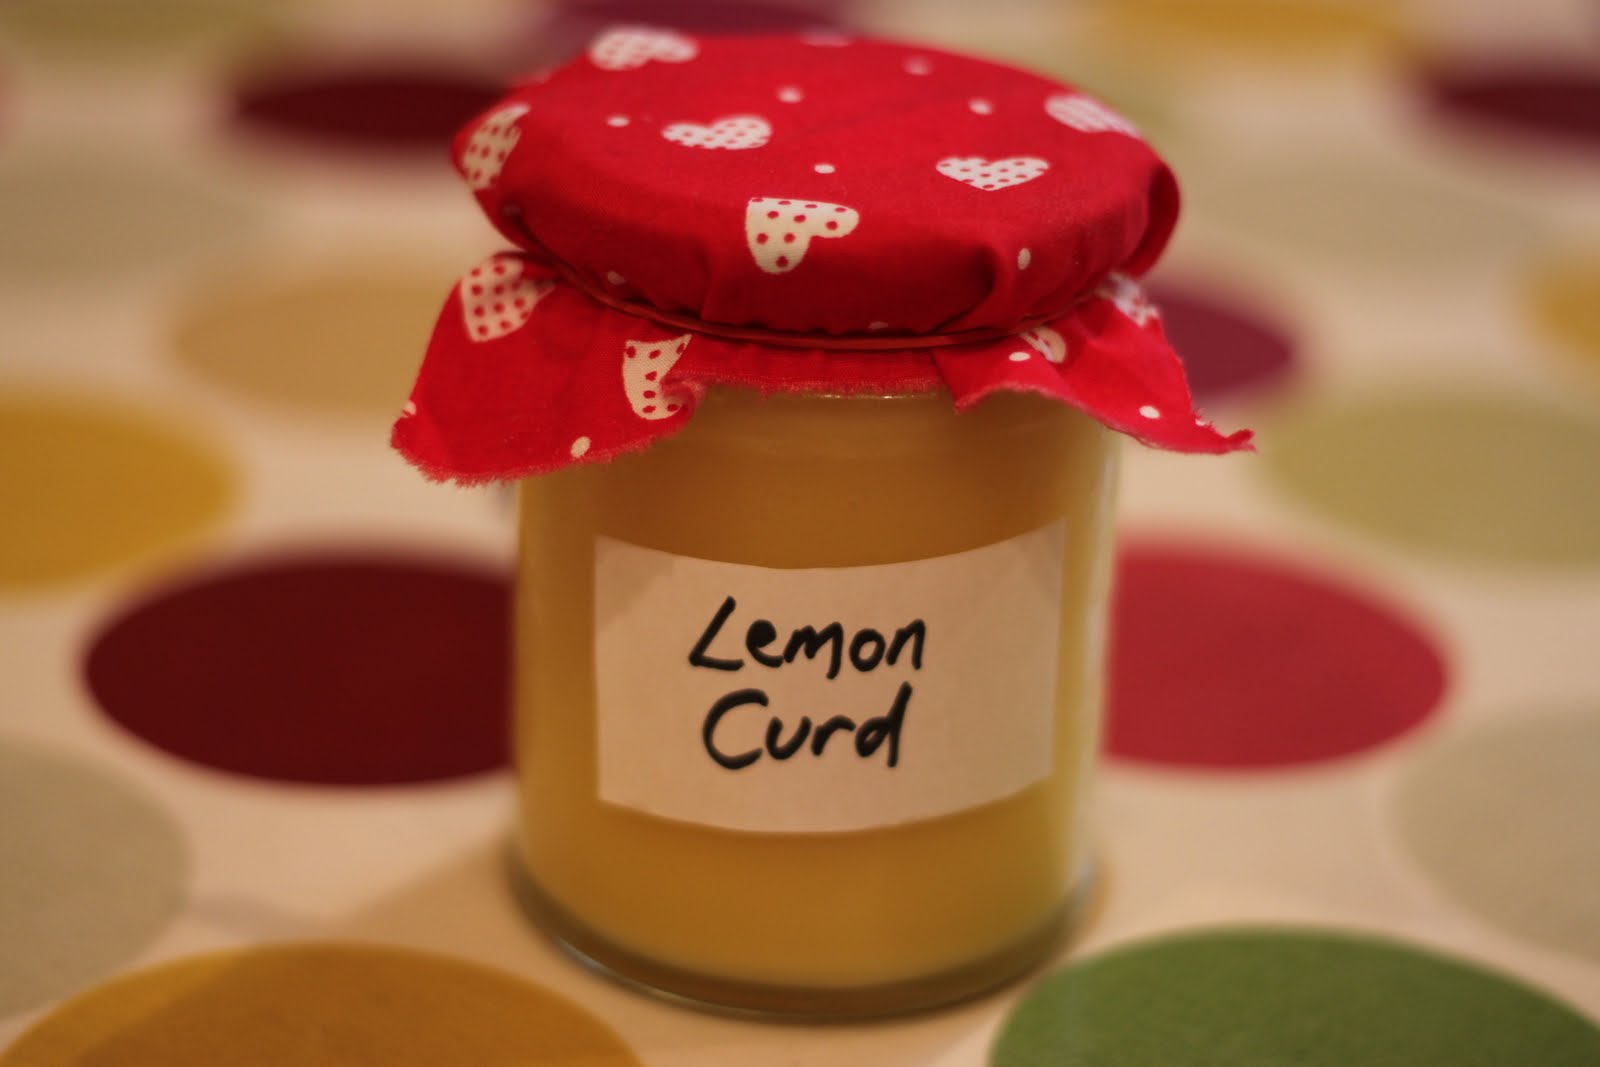
The lemon curd recipe was easy to follow, and very easy to put together, you just need a bit of patience waiting for it to thicken whilst you constantly stir. A funnel would be a useful tool for decanting the curd into sterilized jars, something I learnt the hard way!! The result is a gorgeous golden yellow, thick and zesty lemon curd which tastes nothing like what you would buy at the supermarket and goes great simply spread on toast, or in the lemon meringue ice cream which I should be sharing with you in a couple of days.


Makes 1 medium Jar
60g unsalted butter
2 lemons, zested and juices
2 eggs, lightly beaten
175g caster sugar
a medium sterilized jar (to sterilize run through a hot wash in the dishwasher)
  1. Place a bowl over a pan of gently simmering water and melt the butter in the bowl. Add all the other ingredients and stir to combine with a wooden spoon.
  2. Keep the heat low as you continue to stir the mixture until it thickens and coats the back of spoon. Bill says it should take around 15 minutes but I would say it took me about 25 minutes to reach this point.
  3. Strain the curd into warm sterilized jars and seal. Keep in the fridge for up to three weeks.

Wednesday 20 July 2011

Turkey: My Yogurtlu Meatball Kebab


So here, finally, is my holiday post on Ben and mines recent trip to Turkey. Having never been before, and being completely obsessed with the Greek islands, I was a little apprehensive about what I would find in Kalkan, a resort on the Mediterranean coast. Luckily, all doubts were swept away immediately on our arrival in this very busy little seaside town. Touristy, yes, but some how not spoilt, Kalkan is the perfect middle ground between European destinations and the East, and this is most obvious in the cuisine available in the plentiful restaurants. 

View from our room
Pasha Apart Hotel, Kalkan

I really can’t speak highly enough about the food, some of it was out of this world. I had been expecting kebabs, and they were indeed on every menu, but these weren’t the greasy slithers of meat hacked off great chunks of God knows what that you come across late at night at takeaways around England. The meat was succulent and delicious, and accompanied by all manner of interesting spices and sauces and breads. On one occasion we ordered up ahead a ‘Pitcher Kebab’, which consisted of melt in the mouth lamb, vegetables and spices cooked for three hours on the barbecue in a pitcher (a kind of urn). All washed down with (surprisingly good) Turkish wine and with a complimentary mezze to start, and all for under £30 for the two of us - you really can’t go wrong. The 'Pitcher Kebab' we tried is from Begonvil Restaurant, Kalkan. 

Pitcher Kebab
Delicious Lamb

There are similarities to Greek cuisine here but, although I feel a traitor for saying it, I think Turkish food, or at least the Turkish food that I found, to be a little bit superior. I think it’s the fusion of Asian, Middle Eastern and Balkan cuisines that make it so very tasty. No tzatziki though! (In Turkey they opt for a more straightforward Garlic Yoghurt).


Apparently Kalkan is considered quite posh for Turkey, and I suppose this can be seen echoed in some of the restaurants on the harbour side. Here prices reached the ‘high end’ of 35 lira for a main dish, but when you consider that’s about £14, and you’re getting a massive hunk of prime beef (yes, I’m eating beef again), flambéed at the table with brandy (and almost taking your eyebrows off in the process), and then cooked, by you, on a hot plate, so you can have it as deliciously rare as you like, its really very good value. The 'Marbled Steak' we tried is from Coast Restaurant, Kalkan.

Alex and Flaming Steak!!
Ben and Flaming Steak!!

For value and quality of food, there really is no comparison with Kalkan’s European counterparts. Considering next years holiday? Try Turkey, I’m pretty sure you’ll be converted too.


And now on to my Yogurtlu Meatball Kebab. There is such a variety of kebabs to be found on the traditional Turkish menu, but this one always jumped out at me (I call mine a kebab loosely as I don't actually skewer the meat). Consisting of juicy lamb or beef meat balls on warmed bread, smothered in a rich tomato sauce and melted cheese and served with a dollop of refreshing garlicy yoghurt, it ticks all the boxes for me. Here is my simple recipe that aims to, in some way, recreate those delicious flavours, although it would taste a lot better if I had the heat and the wine and the sea to accompany it.

Serves 2
-For the meatballs-
300g Lamb mince
1 tsp cinnamon
1 tsp ground cumin
¼ onion, finely chopped
1 to 2 tbsp fresh mint, finely chopped (plus more to garnish)
1 clove garlic, crushed
-For the tomato sauce-
150g Passata
¼ onion, finely chopped
1 clove garlic, crushed
-For the garlic yoghurt-
100g Greek yoghurt
1 clove garlic, crushed
-To serve-
2 tbsp cheddar cheese, grated
2 pitta bread
  1. Mix all of the meatball ingredients together in a bowl, and form into 8 to 10 meatballs. Flatten them out slightly to allow them to cook quicker under the grill. Grill for around 15 minutes, turning over part way through, until the meat is fully cooked. Sprinkle the cheese equally over each meatball, and grill for a further 30 seconds to melt the cheese.
  2. Meanwhile, fry the onion and garlic (for the tomato sauce) in a saucepan over a low heat until the onion has softened. Add the passata, stir and cook over a low heat.
  3. Mix the yoghurt and garlic in a bowl. Slice each pitta bread into quarters.
  4. To assemble, place a meat ball on each quarter of pitta bread, then drizzle over the tomato sauce, and dollop the garlic yoghurt in the centre. Sprinkle with a few fresh mint leaves to finish. 

Monday 18 July 2011

Turkish Eggs with Toast


Don’t worry, you’re not on a different blog, it’s still Culinary Conquests, just with a slightly more streamline look. When you look at the same page everyday for six months you kind of get a little bit bored, I certainly feel that I needed a change. Couple that with the acquisition of a brand new ‘proper’ camera that makes everything look beautiful, and there really were no excuses. I do hope that you like the changes, and that you can be patient with my photography as I get to know about apertures and exposure. Please let me know what you think, any suggestions are greatly appreciated!!


Now back to the food, and something on the Turkish theme. I must admit that I never actually had Turkish eggs whilst on my holiday (I basically ate my bodyweight in lamb) but I did have a lot of garlic yoghurt, which is included here. I love poached eggs on toast, or as Ben likes to call it ‘eggy toasty’, but this made a welcome change to the traditional breakfast. I warn you it is rich, I didn’t need a lunch after it, but don’t let that put you off, it’s really very delicious.


The recipe can be found on Gizzi Erskine's website.

Sunday 17 July 2011

Afghan Yoghurt Chicken Curry


I’M BACK! Well, I’ve actually been back for nearly a week but haven’t really had a chance to update the blog. Turkey was wonderful, and I have lots of lovely foodie photo’s to show you, and a couple of recipes that I picked up to share, but I’m afraid they will have to wait a little longer. I also have a proper camera now (I’ve gone photographing mad), and am planning a bit of an overhaul of the blog, so expect a few changes around here in the near future.

In the mean time, I wanted to share with you this delicious yoghurt based curry that I made during the week. Another of Gizzi Erskine’s, the curry is massively flavoursome, and the large dollop of Greek yoghurt added, which curdles slightly during simmering, makes the sauce deliciously thick. The addition of half a green chili adds heat but is not overpowering, thanks to the yoghurt, and all the different flavours shine through together. Fresh mint in a curry is a revelation for me, and it works so well. My new favourite curry.


From Gizzi’s Kitchen Magic (I’ve basically just halved the quantities)
Serves 2
½ tbsp vegetable oil
4 chicken thigh fillets, skins removed, and chopped into 4 pieces each
½ onion, peeled and chopped finely
3 cloves garlic, peeled and chopped finely
½ green chili, finely chopped
½ tsp paprika
½ tsp ground coriander
½ tsp ground cumin
2 crushed cardamom pods
250g Greek yoghurt
handful of fresh coriander, chopped
handful of fresh mint, chopped
  1. Heat the oil in a deep pan which has a lid. Brown the chicken, then remove from the pan and set aside. In the remaining fat in the pan cook the onion over a low heat for 8 minutes, until softened, then add the garlic and chili for a minute.
  2. Add the spices and toast over the low heat for a minute, before adding the yoghurt, chicken and a splash of water.
  3. Stir and add the fresh chopped herbs and a little salt and pepper. Stir and cover with the lid. Leave to gently simmer for 20 minutes over a low heat, until the chicken is tender and cooked through.
  4. Serve with rice.
Culinary Know How: FRESHER
Budget: UNDER £4
Kitchen Requirements: LARGE PAN WITH LID.

Thursday 7 July 2011

Really Easy White Chocolate Sauce


Another post made up ahead. Yes, I’m still on holiday. Fingers crossed I’m beautifully bronzed by now, and haven’t got too fat on all the lovely Turkish bread and beer that I will have no doubt feasted on.

My Mum took Ben and I to the new Cote Restaurant that has just opened in Bath before we went on holiday, a delicious meal was had by all and I can thoroughly recommend the duck. Mum opted for the Iced Summer Berries with a Warm White Chocolate Sauce for pudding, and we all agreed that it was the perfect simple, relatively good for you summer dessert. I decided to recreate the pud at home by using slightly defrosted raspberries and making the sauce from scratch, which is just so easy, and takes under five minutes. Perfect with fruit, I’m entirely sure the sauce would go nicely with cakes, crumbles and ice creams too.

Serves 4
100g white chocolate (I used Green and Blacks)
1 tsp vanilla extract
250ml double cream
  1. Put all of the ingredients into a small saucepan and melt over a low heat.
  2. Whisk together until the mixture has thickened and gone glossy.
  3. Serve immediately.

Culinary Know How: FRESHER
Budget: UNDER £2
Kitchen Requirements: SMALL SAUCEPAN, WHISK.


Find more delicious desserts over at Sweet As Sugar Cookies, where this recipe is linked along with heaps of others!


Friday 1 July 2011

Soda Bread


By the time you read this I will have jetted off on holiday to Turkey. I’ve never visited the country before and am of course very excited to sample the food, hopefully I will have some lovely foody photos and perhaps a recipe or two to share with you on my return. In the meantime, I thought I ought to share with you a couple of recipes I managed to fit in before flying on the 27th, so as not to abandon the blog completely for half a month!!

This soda bread is the laziest loaf I’ve ever made. I think the aim is to have as little contact with the dough as possible, great for those who don’t like to knead, so it’s therefore best to mix the ingredients in a magimix. After that, just place the extremely sticky dough on oiled baking parchment and bake in the oven for half an hour. The lovely, slightly sweet, and very rustic looking (!) loaf is great toasted with butter.


250g plain white flour
250g plain wholemeal flour
100g porridge oats
1 tsp bicarbonate of soda
1 tsp salt
25g butter, in pieces
500ml buttermilk
  1. Preheat the oven to 200C. Oil a baking sheet with flour. Place the flours, salt, oats and bicarbonate of soda into the food processor. Add the butter and mix until rubbed in.
  2. Add the buttermilk through the funnel whilst the machine is running, until everything is thoroughly mixed (but not over mixed).
  3. Bring the dough together lightly and handle gently. Place on the baking sheet and shape to a round loaf, about 20cm in diameter. Make a deep cross in the top with a sharp knife.
  4. Bake in the oven for 30 to 35 minutes, tap the base of the loaf to check its cooked through, it should sound hollow. Leave to cool on a wire rack.

Culinary Know How: SECOND YEAR
Budget: UNDER £3
Kitchen Requirements: FOOD PROCESSOR, BAKING SHEET, SHARP KNIFE, COOLING RACK.
Related Posts Plugin for WordPress, Blogger...